Turning On Copilot Is Easy. Configuring It Correctly Isn’t.
Every model-driven app in Dynamics 365 now has a Copilot button sitting in the upper-right corner, and most makers either flip it on tenant-wide without a plan, or never touch it because the admin center options aren’t obvious. Neither is the right move. Microsoft 365 Copilot in Power Apps has three separate layers of configuration: environment, app, and agent, and each one changes what users can actually do with it. If you’re still sorting through which of Microsoft’s AI tools fits your use case, this guide assumes you’ve already landed on Microsoft 365 Copilot for a model-driven app specifically.
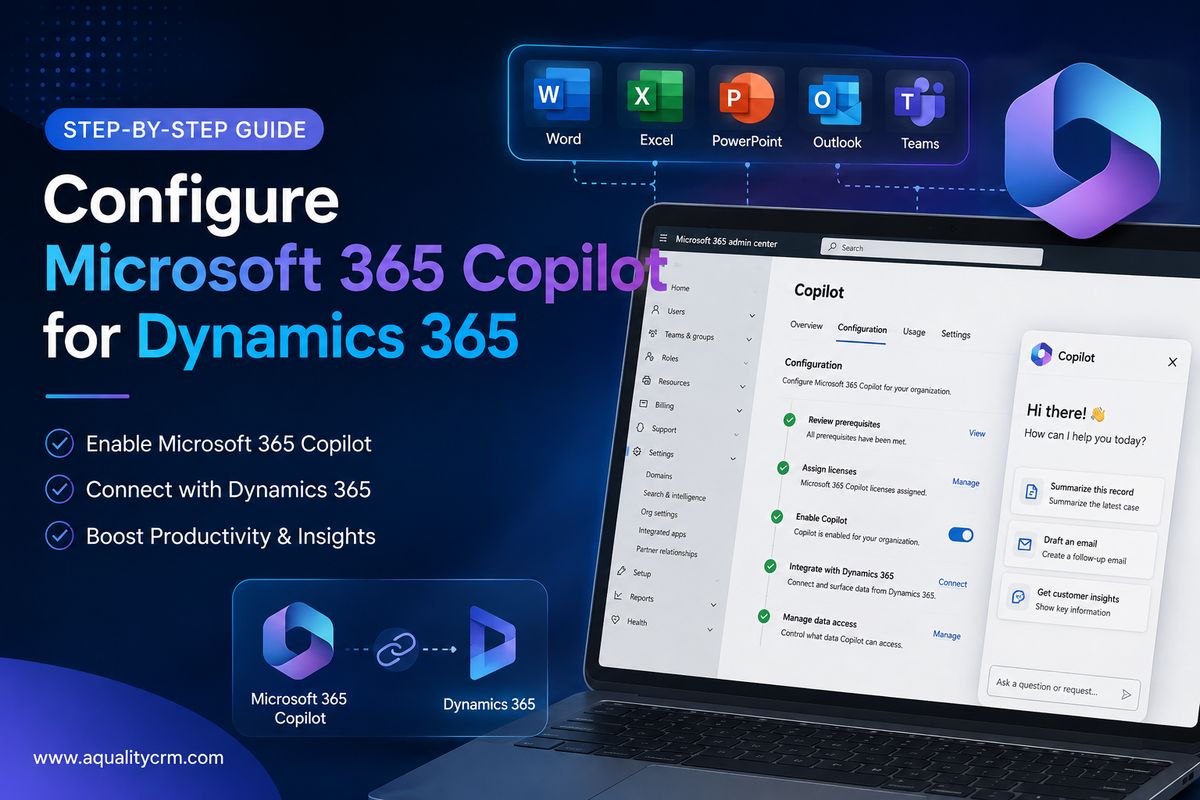
This is a step-by-step walkthrough for enabling Microsoft 365 Copilot in a model-driven app and setting a default agent, so the experience that opens is the one you designed, not a generic chat window pointed at your whole Dataverse environment. For a worked example of the same setup applied to a support queue, see our Copilot Studio case study in Dynamics 365 Customer Service.
Prerequisites Before You Start
Check these first. Skipping them is the most common reason Copilot “doesn’t show up” after following every step below correctly:
- Your tenant must have Dataverse data available in Microsoft 365 Copilot turned on in the Microsoft 365 admin center.
- Dataverse Search must be set to Default or On for the environment, since Copilot grounds its answers in the search index, not live queries.
- Users need a Power Apps premium license plus a Microsoft 365 Copilot license to use Copilot inside a Power Apps app.
- Users on a Dynamics 365 app need a Dynamics 365 Enterprise or Premium license; a Microsoft 365 Copilot license is still required for the full Work IQ capabilities beyond basic Dataverse grounding.
One thing worth planning for before go-live: enabling Copilot builds and maintains Dataverse Search indexes, which adds to your environment’s Dataverse capacity consumption. Confirm you have headroom before turning this on for a high-volume environment.
Step 1: Turn On Copilot at the Environment Level
This is an admin-center setting, and it’s the switch that has to be on before anything else works.
- Sign in to the Power Platform admin center.
- In the navigation pane, go to Copilot > Settings. Under Power Apps, expand Chat Agent and choose M365 Copilot.
- Select the environment group or specific environment, then select Edit Setting.
- Set it to On and select Save.
Step 2: Enable Copilot for a Single Model-Driven App
Once the environment allows it, you still choose which apps actually expose it. This keeps Copilot off apps that aren’t ready for it.
- Sign in to Power Apps and open the model-driven app for editing.
- Select Settings in the command bar, then select Features on the left.
- Set M365 Copilot in model-driven apps to On.
- Select Save, then Publish the app.
Step 3 (Optional): Enable Copilot for Every App in an Environment
If you’d rather set the default once instead of toggling it app by app, this does it at the environment level via the Default Solution:
- In Power Apps, select Solutions, then open the Default Solution.
- Select Objects, expand Settings, and select Setting environment values.
- Select Enable M365 Copilot in model-driven apps.
- Under Setting environment values, add or edit the existing value and set it to 2.
- Select Save, then Publish.
Use this deliberately. Turning Copilot on for every app in an environment in one move means every one of those apps is now consuming Dataverse Search capacity and exposing app data through natural-language queries, so make sure that’s actually the intent, not just the path of least resistance.
Step 4: Choose an Agent Type Before You Customize
Out of the box, Copilot in a model-driven app is read-only: users can ask questions about the app’s Dataverse tables and get answers, but they can’t create or edit records through it. To go further, you build a custom agent, and Microsoft gives you three options:
| Agent type | Best for |
|---|---|
| Declarative agent | Low-code setup for FAQs, guided workflows, and routine task automation on top of your app |
| Custom engine agent | Complex business logic and custom data integrations beyond what Dataverse alone provides |
| Copilot Studio agent | Conversational experiences that also need to live in Teams, not just inside the app |
For most CRM teams extending a model-driven app, a declarative agent is the fastest path, since you can enable one directly from the app without leaving Power Apps. See Settings > Features in the same app editor from Step 2.
Step 5: Set a Default Agent
This is the step that actually changes the user experience. Without it, opening Copilot drops users into a generic chat pane where they have to pick or discover the right agent themselves. With a default agent set, your custom agent loads automatically the moment a user opens the app and the Copilot side pane appears, with no extra clicks and no hunting for the right agent in a list.
Set it from the model-driven app designer, in the same Copilot configuration area where you enabled the feature in Step 2. Once configured:
- Users land directly in the experience you built, not a blank chat window.
- App-specific guidance and workflows are available the instant Copilot opens.
- Your agent becomes the front door to Copilot for that app, rather than one option among several.
This matters most for scenario-focused agents, such as a service-desk triage agent, an onboarding assistant, or a quoting helper, where you want every user to land in that specific experience, not a general-purpose Q&A bot pointed at raw table data.
Going Further: Xrm.Copilot APIs
If your agent needs to actually talk to your app, not just answer questions next to it, the Xrm.Copilot.* client APIs create a two-way connection between the app and the Copilot side pane:
sendPromptToM365Copilot: trigger a Copilot interaction from inside your app’s own UIopenM365CopilotPanel: force the Copilot pane open when your app logic needs it visibleupdateContext(preview): push extra grounding context from the app into CopilotgetCurrentAgent: check which agent is currently activeaddActionHandler: register handlers that let Copilot responses (including Adaptive Card buttons) trigger actions back inside your app
Combined with a default agent, these APIs are what let Copilot actually drive workflows in your app instead of just describing them.
Known Limitations to Plan Around
- Read-only by default. Out-of-the-box Copilot can view Dataverse data but can’t create or edit records; that requires a custom agent.
- No mobile support. Microsoft 365 Copilot for model-driven apps isn’t available in the Power Apps mobile app.
- Starter prompts disappear with a default agent. Once you set a default agent, its starter prompts don’t render, so plan your agent’s opening message accordingly instead of relying on prompt chips.
- No in-app user context yet. Custom agents can’t currently use the signed-in user’s in-app context to tailor responses.
Where Teams Usually Get Stuck
The steps above are all documented, but in practice we see the same two failure points repeatedly: teams enable Copilot tenant-wide before checking Dataverse Search settings or capacity, and teams build a custom agent but never set it as default, so users never find it and adoption stalls at zero. The same governance discipline we cover in our Power Platform deployment checklist applies here too: a Copilot rollout without a named owner drifts the same way an ungoverned deployment does.
AqualityCRM configures Microsoft 365 Copilot and Copilot Studio agents inside Dynamics 365 and Power Platform environments as part of our CRM and Power Platform work, from environment-level rollout planning to building the agent itself. If you want Copilot configured correctly the first time instead of walked back after a rocky rollout, talk to AqualityCRM about your Copilot setup.